Basin endpoint setup
We assume in this article that you already know how to prepare your spreadsheet to send data with Appizy. In case you have any doubt, take a look at this example for a detailed approach.
1. Create a new endpoint
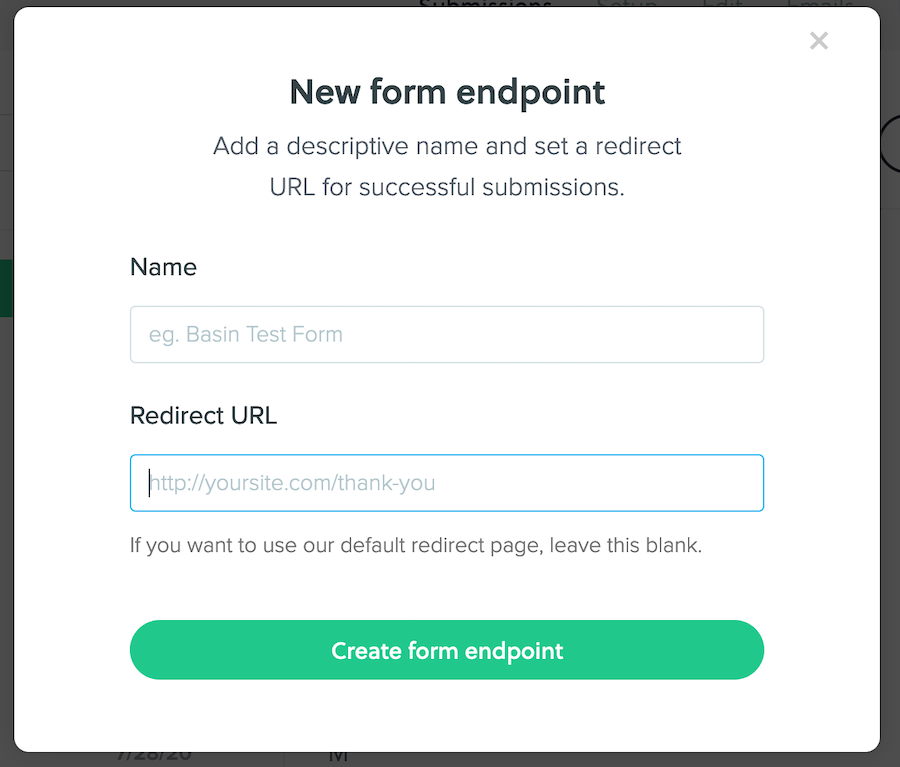
Once logged into your Basin account, in the top navigation select “Create new endpoint”
Give your endpoint a name. The redirection URL is an optional field. Basin provides a standard “Thank you” page after form submission, but you can use a URL of your choice.
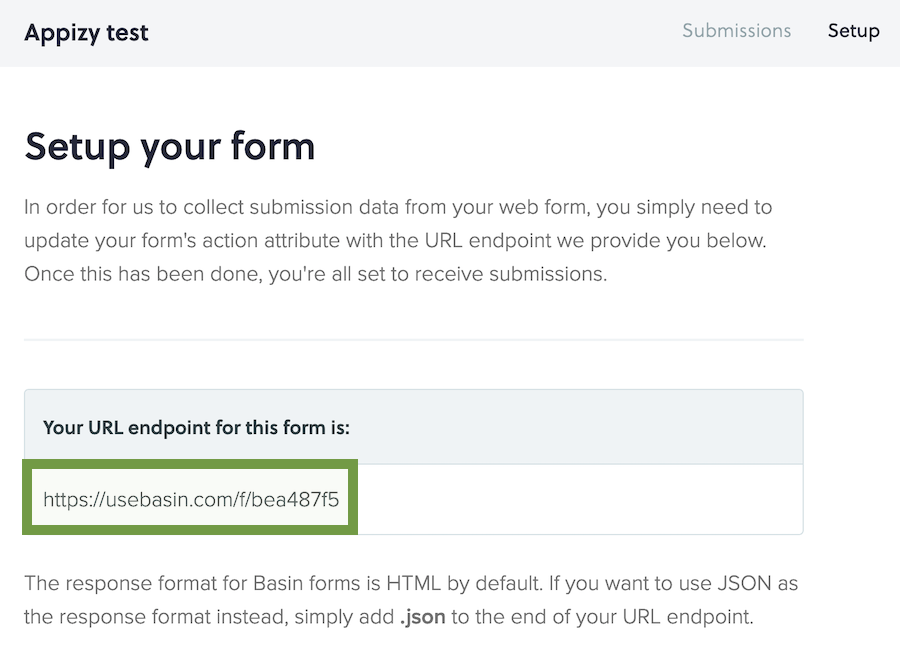
2. Copy the URL endpoint
In the Setup tab of the endpoint copy the URL.
3. Paste and convert
Go to Appizy, and upload your spreadsheet. You can also start from the Quotation sample.
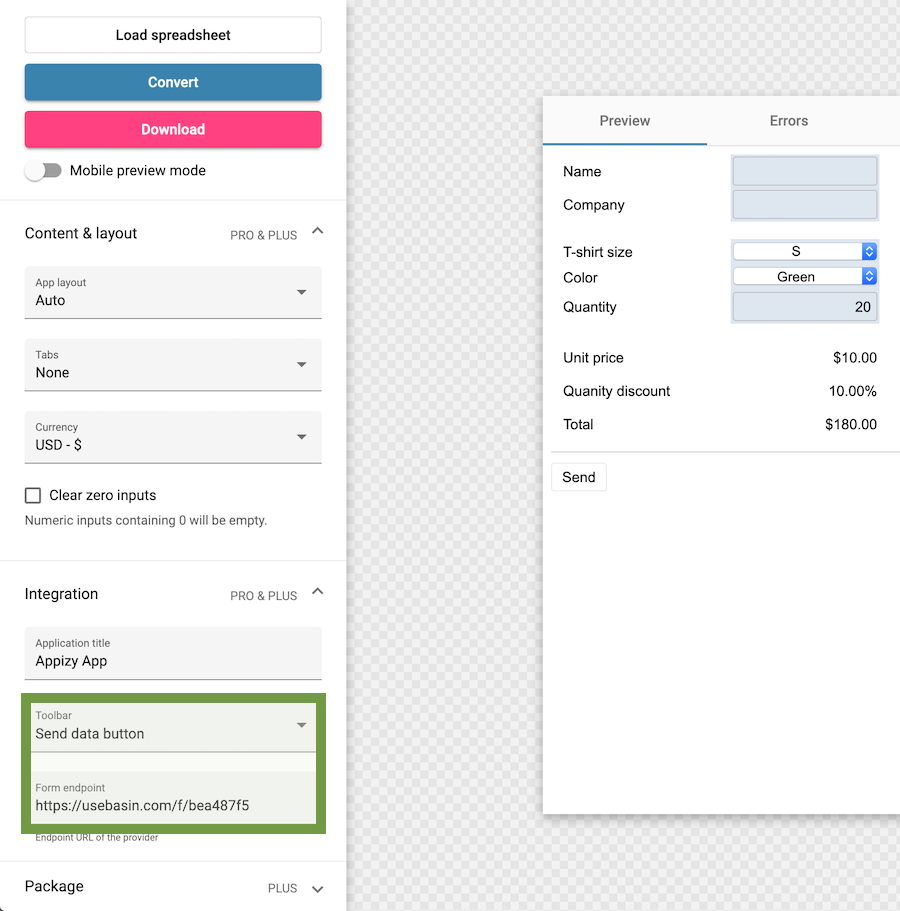
Use the following settings (and do not forget to convert again after the setup):
Integration > Toolbar > Send data button (requires PRO or PLUS). This will add a Send button below our form. When the end-user clicks on it, the form is submitted and we get the information contained in it.
Integration > Form endpoint. This is where we paste the URL provided by Basin after we created a new form in their interface.